 USD
USD EUR
EUR GBP
GBP CAD
CAD AUD
AUD
From Novice to Pro: Mastering Itips
In this article, we will delve into the world of I-tip hair extensions, exploring their uniqueness and why they stand out from other extension types. From understanding what Itips are to their installation process, benefits, maintenance, and cost, we'll cover it all. We will also provide personal experiences and testimonials that shed light on the practical aspect of using these extensions.
Whether you're considering a hair makeover or are a professional stylist seeking to expand your knowledge, this comprehensive guide is here to answer all your questions about Itips. Let's embark on this journey towards luscious and voluminous hair together.
What are I-tip hair extensions?
A. What are Itips?
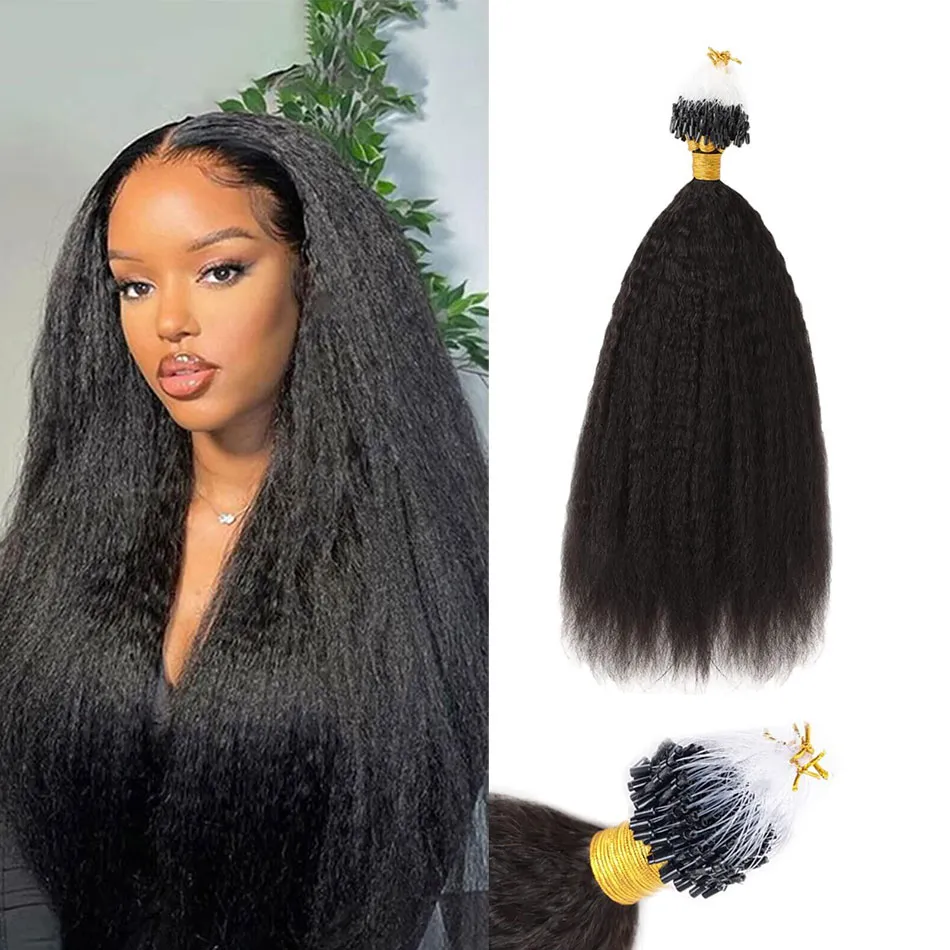
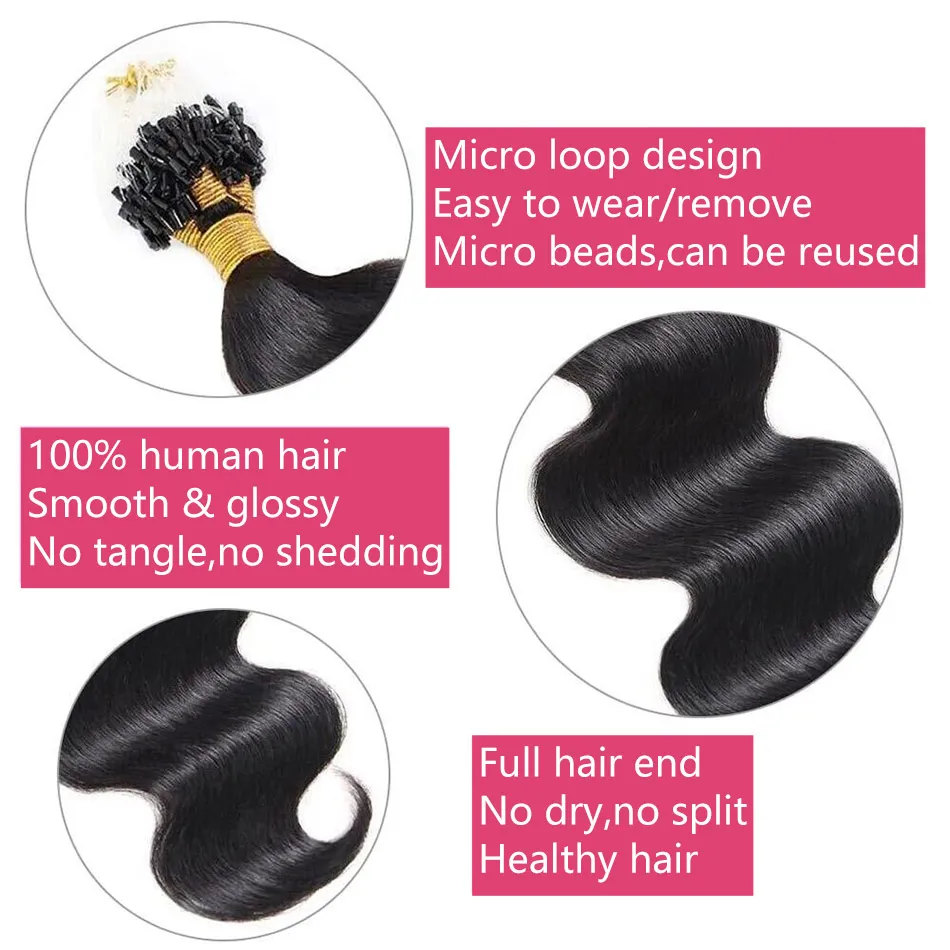
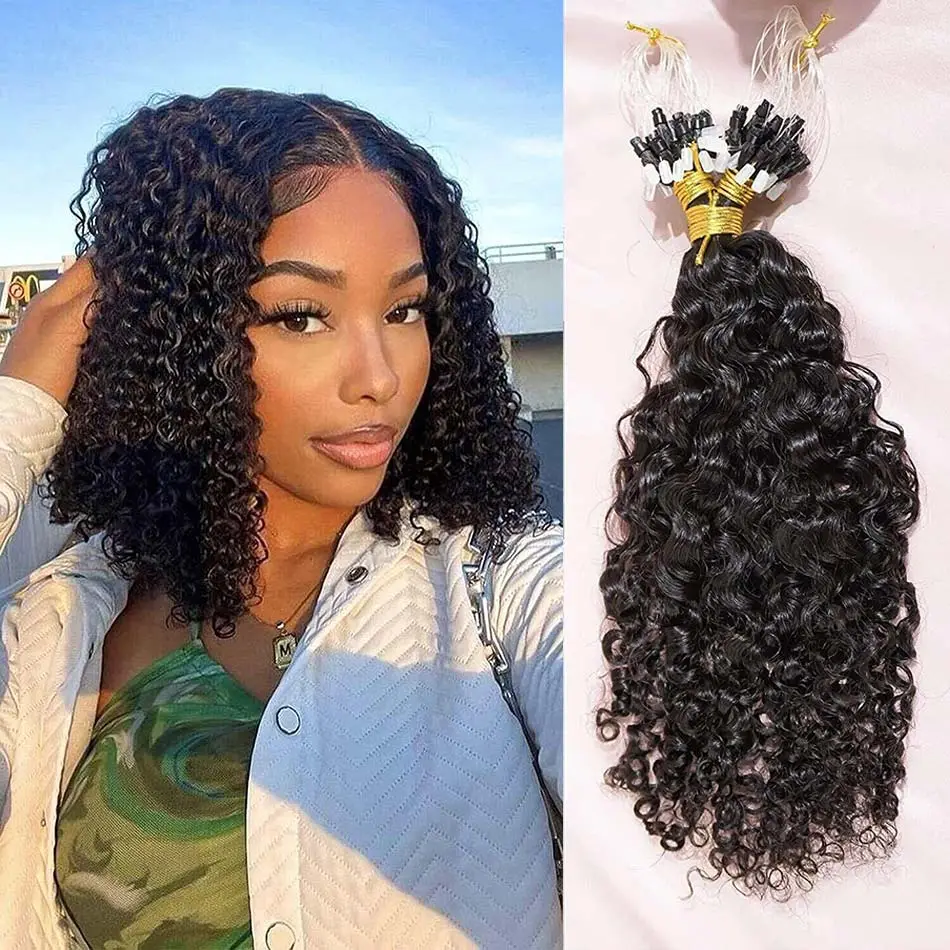
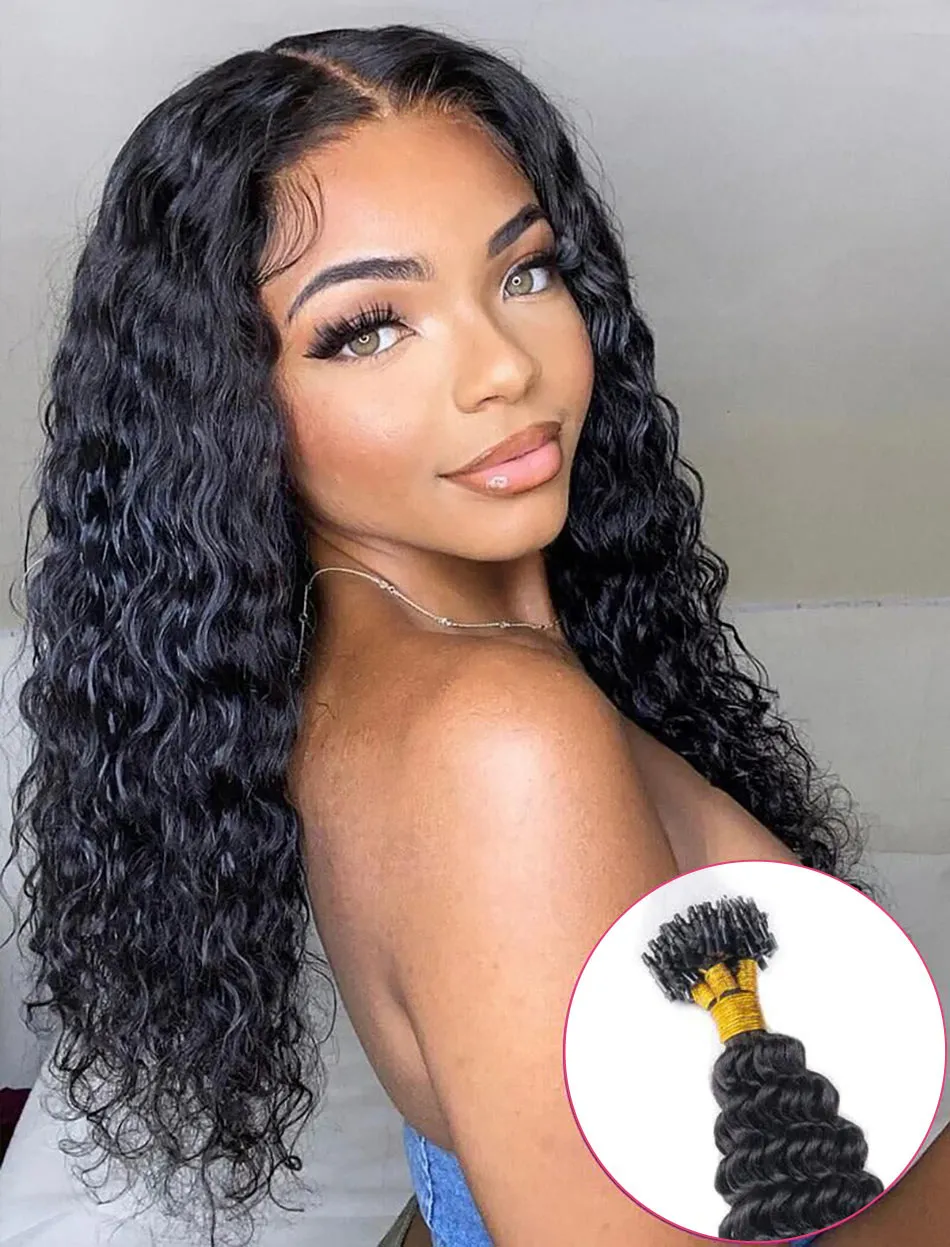
I-tip hair extensions, also known as stick-tip hair extensions or micro link hair extensions, are a type of human hair extension that is applied to the hair by attaching each extension strand to the natural hair strand. Each extension strand has a small, shoelace-like tip that holds all the individual hair fibers together. A bead is then placed onto the natural hair, with the I-tip extension inserted into the bead, which is then clamped shut, securing the extension to the natural hair.
B. Materials used in I-tip Extensions
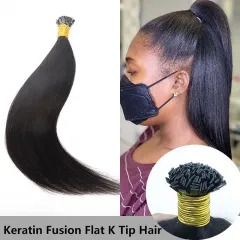
The 'I' in I-tip refers to the individual strands that are used in the extension. These strands are made from 100% human hair, which ensures a natural look and feel. The tips of the extensions are made with a keratin bond, which is a type of protein that naturally occurs in hair. This keratin bond is what makes it possible to attach the I-tip extensions to the natural hair without the use of glue or heat. The beads used to secure the extensions are typically made from a metal like aluminum and are sometimes lined with silicone to protect the hair.
C. How Itips are Different from Other Types of Extensions
The major difference between I-tip hair extensions and other types of extensions lies in the application process. Unlike glue-in or sew-in extensions, I-tip extensions are attached using a cold fusion method, meaning heat isn't required. This is gentler on the hair and can lead to less damage over time.
I-tip extensions are also applied strand-by-strand, unlike weft extensions that are applied in sections. This results in a more natural look as the extensions blend seamlessly with the natural hair.
Here's a simplified table structure to illustrate the differences among some popular types of hair extensions:
| Extension Type | Application Method | Longevity | Damage Potential | Process Time |
| I-Tip Extensions | Cold fusion method (strand-by-strand, no heat) | Long-lasting (up to 3 months with proper care) | Low (no heat or glue used) | 2-4 hours |
| Sew-in Extensions | Wefts are sewn into braided natural hair | Long-lasting (up to 2-3 months with proper care) | Low (no heat or glue used) | 2-5 hours |
| Tape-in Extensions | Wefts attached with adhesive tape | Medium-lasting (up to 6-8 weeks with proper care) | Low (the adhesive tape is typically medical-grade) | 1-2 hours |
| Quick Weave | Wefts glued directly onto a protective cap or natural hair | Short-term solution (usually a few weeks) | Moderate (glue can potentially damage hair) | Under 1 hour |
Pros and cons of Itips
Pros:
- Natural Look and Feel: Since I-tip extensions are installed strand-by-strand, they blend seamlessly with your natural hair, giving a very realistic and natural look and feel.
- Minimal Damage: As no heat, glue, or sewing is involved in the application, I-tip extensions tend to cause less damage to your natural hair compared to other extension types.
- Durability and Longevity: With proper care and maintenance, I-tip extensions can last up to three months, making them a cost-effective choice in the long run.
- Versatility and Comfort: The strand-by-strand application allows for 360-degree movement, offering greater styling versatility. You can wear your hair up or down without revealing the extensions.
Cons:
- Time-Consuming Application: Applying Itips can be a lengthy process, as each extension needs to be attached individually. The application process can take anywhere between 2 to 4 hours, depending on the number of extensions and the stylist's experience.
- Cost: I-tip extensions, particularly those made from high-quality human hair, can be expensive. The total cost also includes the installation by a professional stylist.
- Maintenance: Regular maintenance is needed to keep I-tip extensions looking their best. This includes careful brushing, regular tightening, and using specific hair care products recommended for extensions.
- Not Suitable for All Hair Types: I-tip extensions might not be the best choice for individuals with very thin or weak hair as the weight of the extensions could potentially strain and damage the natural hair.
Factors to consider before deciding on Itips:
- Hair Health: I-tip extensions are applied to individual strands of hair, meaning the health of your natural hair is crucial. If your hair is significantly damaged or weak, the extensions may strain your natural hair and potentially cause further damage.
- Lifestyle: Your daily routines and habits can also influence the suitability of I-tip extensions. For instance, if you often engage in activities like swimming or intensive workouts, you'll need to ensure you can properly care for and protect your extensions during these activities.
- Time Commitment: The application and maintenance of I-tip extensions are time-consuming. You must be ready to invest time not just in the application process, but also in regular maintenance appointments and daily care routines.
How to install I-tip hair extensions?
A. A Step-by-Step Process of Installing I-tip Hair Extensions
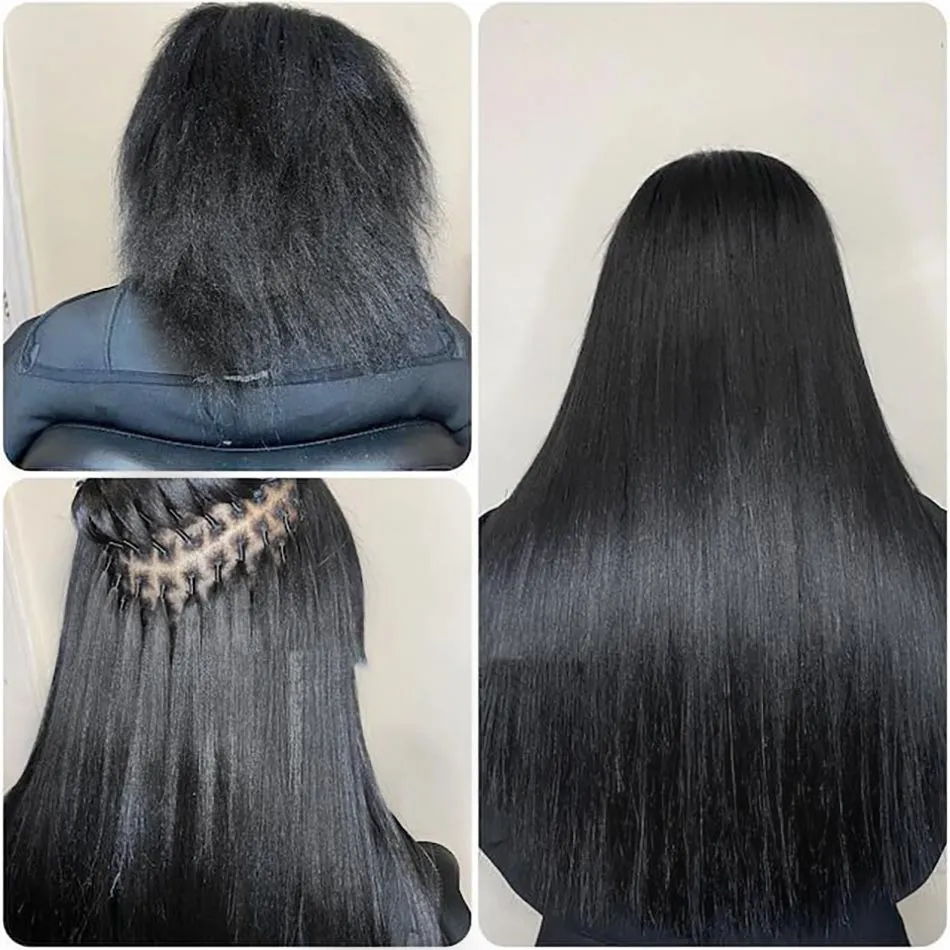
Step 1: Sectioning the Hair
The hairstylist starts by sectioning the client's hair into rows. The lower back of the head is generally the starting point.
Step 2: Thread the Bead
A small bead (often made of aluminum) is threaded onto a loop tool. The hairstylist then pulls a small section of the client's hair through the bead.
Step 3: Attach the I-Tip
The I-tip extension is inserted into the bead. The bead, with the extension inside, is pushed up towards the scalp.
Step 4: Secure the Extension
Using special hair extension pliers, the hairstylist then clamps the bead down onto the I-tip extension to secure it.
Step 5: Repeat
This process is repeated until all desired extensions have been installed. The extensions are installed in rows, working up the back of the head and then on the sides.
Step 6: Final Touches
Once all extensions are in place, the stylist will likely blend and trim the extensions to give them a natural look and feel. A final style (like curling or straightening) may then be done.
B. Time Frame for the Installation Process
The time frame for installing I-tip hair extensions can vary greatly depending on the number of extensions being installed, the stylist's experience, and the client's hair type. On average, installation can take anywhere from 2 to 4 hours.
Daily Care and Maintenance Routines for I-tip Extensions
Tip 1: Brushing: Regular, gentle brushing from roots to tips can prevent tangling. Use a soft bristle brush or a special hair extensions brush and always brush your hair before washing it.
Tip 2. Washing: Wash your hair regularly but not too frequently – ideally, 2-3 times a week. When washing, tilt your head back and cleanse your scalp with the shampoo, letting the shampoo run down the length of your extensions. Avoid rubbing or twisting the extensions.
Tip 3: Conditioning: Always use a conditioner after shampooing. Apply conditioner from mid-length to the ends of the extensions, avoiding the roots.
Tip 4: Drying: Allow your hair to air dry as much as possible. If you need to use a blow dryer, use it in a cool setting to prevent heat damage.
Tip 5: Styling: While you can style I-tip extensions as you would your natural hair, avoid using heat styling tools near the bonds to prevent them from weakening or coming loose.
Tip 6: Sleeping: Never go to bed with wet hair. Make sure your hair is completely dry before you sleep. Consider braiding your hair or tying it in a loose ponytail to prevent tangling overnight.
Tip 7: Heat Protection: Always use a heat protectant before using heat-styling tools. This not only protects your natural hair but also helps to prolong the lifespan of your extensions.
Tip 8: Regular Maintenance Appointments: Regular check-ups with your hairstylist can help ensure that your I-tip extensions are in good condition and adjust or replace any that have loosened or fallen out.
Tip 9: Use Extension-Friendly Products: Some hair products contain ingredients that can weaken the bonds of I-tip extensions. Always use products that are specifically designed for or are safe to use with hair extensions.
Tip 10: Healthy Habits: Eating a healthy diet and staying hydrated can help keep both your natural hair and your extensions in top condition. Avoid habits that can damage your hair, like smoking or not protecting your hair from chlorine and saltwater.
Costs of I-tip Hair Extensions
The cost of I-tip hair extensions can significantly vary depending on various factors. On average, you can expect to pay anywhere from $100 to $500 for the extensions themselves. Installation by a professional hairstylist can add another $100 to $800, sometimes even more. So, you're likely looking at a total cost ranging from $200 to $1,300, or possibly higher.
A. Factors Influencing the Cost
- Quality: Higher-quality extensions, particularly those made from 100% human hair, will cost more than synthetic or lower-quality human hair extensions.
- Length and Volume: The longer and thicker the extensions, the higher the cost. More extensions (for volume) or longer extensions both require more hair, thus driving up the price.
- Color: Special colors, or extensions that require multiple colors to match your hair, may cost more than standard, single-color extensions.
- Stylist's Experience: A stylist with more experience or a high-demand stylist will generally charge more for their services.
- Geographic Location: Prices for both the extensions and installation services can vary depending on the area. Urban areas or high-end salons often charge more.
- Maintenance: The cost of regular maintenance appointments, which can include tightening and replacing extensions that have fallen out, should also be considered.
B. Cost Comparison to Other Types of Hair Extensions
When comparing the cost of I-tip hair extensions to other types, I-tip extensions tend to be on the pricier side due to the quality of hair used and the application process involved.
| Type of Extensions | Cost Range |
| I-tip Extensions | $200 - $1,300 |
| Clip-in Extensions | $100 - $400 |
| Tape-in Extensions | $200 - $800 |
| Sew-in/Weave Extensions | $100 - $600 |
| Fusion/Keratin Extensions | $500 - $2,000 |
I-tip FAQs:
Q: Are I-tips good for your hair?
A: Yes, I-tip extensions are generally safe and good for your hair, provided they are applied, maintained, and removed correctly. Since no heat or glue is used in the application process, the chance of damage is significantly reduced compared to some other types of extensions.
Q: Are I-tips good for thin hair?
A: I-tip extensions can work well with thin hair as they are lightweight and applied strand-by-strand, allowing for a seamless blend with your natural hair. However, it's crucial to work with an experienced stylist who can ensure the extensions are applied correctly and the weight is evenly distributed to prevent any damage to your natural hair.
Q: Can you wear your hair up with I-tip extensions?
A: Yes, you can wear your hair up with I-tip extensions. The flexibility of the strand-by-strand method allows you to style your hair in a variety of ways, including up-dos, without revealing the extension bonds.
How long do I-tips hair extensions last?
With proper care and regular maintenance, I-tip hair extensions can last for about three to six months.
Q: How often can you wash your hair with I-tip extensions?
A: It's recommended to wash your hair with I-tip extensions 2-3 times a week. Be sure to use extension-friendly hair products and avoid rubbing or twisting the extensions while washing.
Q: Can you swim with I-tip extensions?
A: Yes, you can swim with I-tip extensions, but it's advisable to wear a swim cap to protect the extensions from chlorinated or salty water. After swimming, wash and condition your hair promptly to prevent any potential damage.
Q: Do Microlinks get tangled?
A: If cared for properly, microlinks (another term for I-tip extensions) should not get tangled. Regular, gentle brushing and avoiding aggressive hair products can help prevent tangling.
Conclusion:
Now that you're equipped with the knowledge and understanding of I-tip hair extensions, why not take the next step? Embrace the opportunity to enhance your natural hair with high-quality, durable, and beautiful extensions.
Elfin Hair, a reputable online hair store, offers a diverse selection of human hair extensions, including the latest, top-tier I-tip hair extensions. Experience first-hand the transformative power of these extensions and discover the perfect fit for your unique style and preferences.
Ready to embark on a journey towards more voluminous and luscious hair? Visit elfinhair.com today and explore their extensive selection of I-tip hair extensions. Your dream hair is just a click away.
![[Six Textures] Elfin Hair Micro Loop/Itip Microlinks Hair Extension For Black Women Human Hair 100grams/200grams/300grams 12-30 Inch](http://ueeshop.ly200-cdn.com/u_file/UPAA/UPAA036/2305/products/06/0a1a8476ff.jpg.240x240.jpg?x-oss-process=image/format,webp)
Related Posts:
Rocking Drawstring Ponytails: Hairstyles, Cares, and FAQs
Premium Comfortable & Invisible: Seamless Clip-in Hair Extensions
How To Hide Hair Extensions In Thin Hair?
Hot Fusion Vs. Cold Fusion Hair Extensions