 USD
USD EUR
EUR GBP
GBP CAD
CAD AUD
AUD
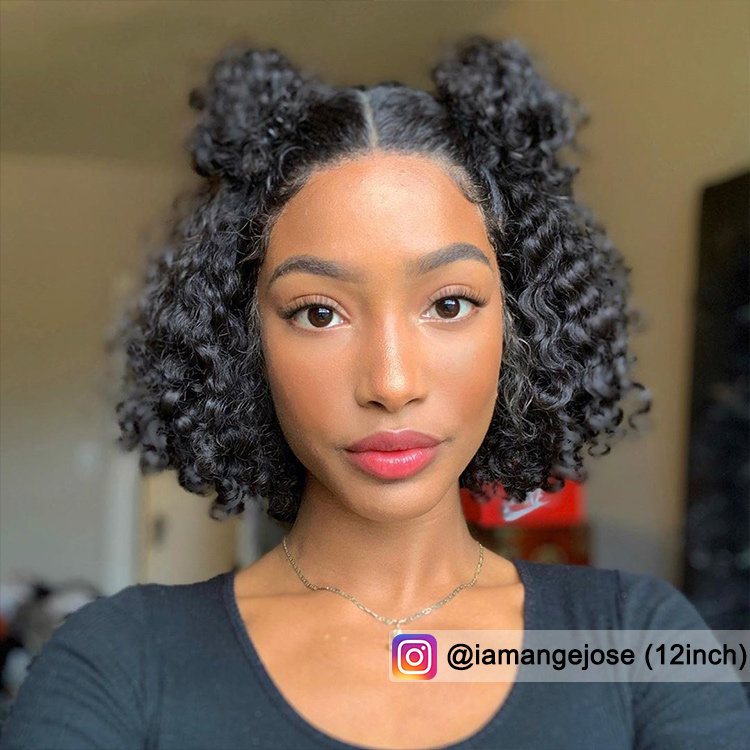
How to make a glueless frontal wig with no band?
Items you need to prepare before starting this small object: a wig stand, some t pins, Spandex Mesh Dome cap, measurement band, human hair bundles, lace frontal, kneel and thread, long rat tail comb, clips.
Step 1. Measure and figure out your head size on the wig stand.
You need to measure two sizes on your head from front to back (from your hairline to your nape), and side to side (from one ear behind to another ear behind), and then figure out the sizes at the mannequin head and make markings at the wig stand. Remember to mark the middle point from side to side.
Step 2: Secure the wig cap at the wig stand.
Secure the wig cap at the wig stand and use t-pins to pin the cap on the points where you just made markings.
Step 3: Pin the lace frontal to the wig cap.
Fold the frontal in half to find the middle point of the frontal and then pin that to the middle mark on the wig stand. If you want to give yourself a little bit more room, you can pull the frontal down maybe half an inch further than that front edge of the cap. In this way, you have just a little bit more room to work with or in the hairline area. Continue to pin the end of the frontal to the wig cap according to the marks. Finally, adjust the lace frontal to make
sure it is pretty tight and snug.
Step 4: Sew in the lace frontal to the wig cap.
Clip the hair of the frontal out of the way and then start to sew in the frontal onto the spandex cap.
Step 5: Sew in the hair bundles to the wig cap.
Start to sew in the human hair bundles to the wig cap, pick a longer bundle go ahead firstly, sew and secure the hair bundles from the neck edge of the wig cap to the edge of the lace frontal, circle by circle. When you just going to finish up the last bit sew-in at the top, continue to connect the bundle to the frontal at this point, so that the wig top can lay as flat as possible. Make a couple of knots before you cut off the thread.
Step 6: Cut off the wig cap.
Take out the clips and unpin the hair, pull the lace frontal back so that you can cut off the spandex cap. Cut the front part of the wig cap close to the stitches but not too close. And pull the lace frontal back down on the mannequin head.
Step 7: Tweeze the front hair to make the hairline looks natural.
Pull and secure all the hair back, and then pull out just a few of the hair strands in the front with the long rat tail comb and set the hair strands down. Tweeze other hair strands along the hairline with tweezers. Brush out the losing hair after you have finished the tweezing. This can help to make the hairline looks more natural.
Step 8: Make your baby hair.
Once you got the hairline tweezed, you can go in with a small eyebrow razor and just start making your baby hairs.
Step 9: Do hairstyles you like.
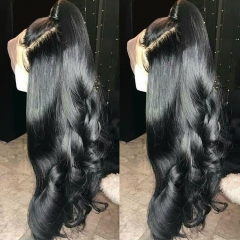
The human hair lace front wig is well-known for its breathability and versatility. You can style this glueless frontal wig to almost all hairstyles. Or you can click and read our previous guide about how to style a lace frontal wig for more details.
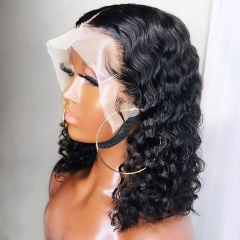
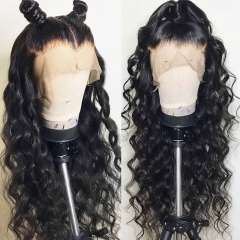
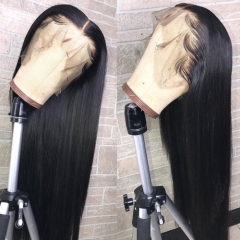
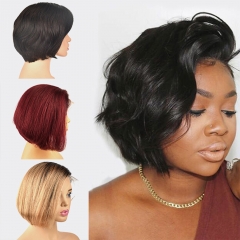
Best frontal wigs human hair At Elfin Hair:
Elfin Hair offers all types of human hair lace frontal wigs. From versatile blonde frontal wigs, super natural-looking HD lace wigs human hair, curly frontal wigs that can flatter to almost all black women perfectly, Elfin hair has got you covered.
 |
 |
 |
 |
 |
 |
Related Articles:
Transform Old Wigs: How To Soften & Restyle Your Human Hair Wig With No Damage?
Closure Wig VS Frontal Wig | Elfin Hair
Everything you need to know before dyeing a human hair wig
How To Highlight A Human Hair Wig At Home?
How to make a permanent loose wave wig?