How to Sew in Virgin Peruvian Hair Bundles by Yourself?
How to Sew in Virgin Peruvian Hair Bundles by Yourself?
Hi there!You’re here reading this right now because you want to learn how to sew in virgin Peruvian hair bundles by yourself.How do we know? Because who just goes around on the internet searching for “How-To’s” if that’s not what they want!Now, it’s agonizing enough that Peruvian hair bundles cost a fortune. And paying some more money every time an extra hand has to sew it in for you doesn’t make it more bearable.
A lot of people belong to the school of thought that sewing in virgin hair bundles is a tough and delicate job. Well, it is not the easiest of tasks, but it is not unlearnable. So, we put this blog together to help you gather the one DIY skill you really want, sewing in your virgin hair bundles by yourself.
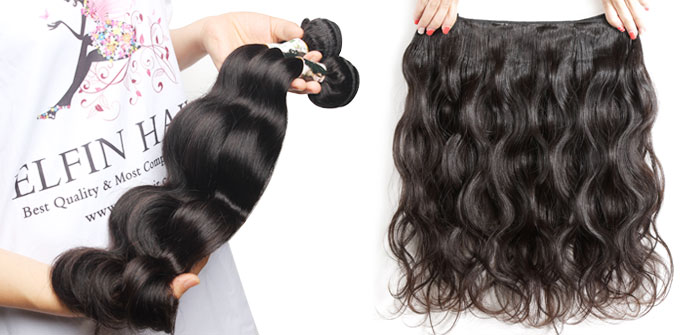
Ready? Set? Let’s get started!
Sewing in your Peruvian virgin hair bundles by yourself. Deciding to sew in your own weave is a big decision but lose no sleep over it. With this guide, it would be just a cakewalk.
Tools required
Hair thread, C-curve needles, Necessary hair styling gadgets (like a hand-dryer, straightener), Your preferred hair products.
Step by step process of sewing in your Peruvian hair bundles.
Step 1: Pre-braiding action. You want your hair to be as strong as possible, so, deep condition it, blow dry your hair and make sure there are no tangles.
Step 2: The anchor braids. Now, make two firm and sturdy braids across your inner forehead. Don’t worry about the rest of the hair for now. The two anchor braids should leave a deal of hair between them in from the middle of the head.
Step 3: More braiding. After the ancho braids, go ahead to braid the rest of your hair and ensure there is a pattern to it.
Step 4: Here’s comes the mesh weaving cap. The mesh weave-in cap makes sewing in a lot easier and more efficient. Plus you won’t have to deal with the direct backlash of weaving directly on your natural hair.
Step 5: Let the sewing in begin.Tip: Thread your needles to about an arm's length to start each time. Getthe c-curve needle and start from the weft, that would be the part of the weave-in cap where the strands are bundled,next the cap, then the first braid/track in the back. From here on you’ll notice a smooth transitioning between your scalp and the extension.
Note: you’ll be putting the needle through the wefts atextremes of the extension; between the ends, you can justcoil your thread around the wefting at the end of each successful weave.
Step 6: Sewing-in movement.You’ll have to begin sewing from the back to the front because you do not want completed weaves to cover your view of untouched ones. The front is where it all finishes.
Step 7: Finishing If you followed the instructions dearly, you’ll be finishing at the front of our head. Remember the deal of hair you left in the middle/front? Once you’ve sewn the extensions to the anchor braids, you’ll blend the natural hair you left unbraided into the virgin hair extension. This way it leaves a smooth and seamless finish from natural hair to extensions.
We’ll keep the comment section open for questions and contributions if any. A lot of ladies need to see and read this blog, and you know it. So, go on, share with your family, friends and especially our squad! You can also enjoy this read with you boyfriend or husband, imagine a man that sews in your Peruvian hair bundles for you!

 USD
USD EUR
EUR GBP
GBP CAD
CAD AUD
AUD


